Mochi muffins are a delightful fusion of Japanese tradition and modern baking innovation. Inspired by the beloved mochi—Japan’s chewy, glutinous rice cake—these muffins bring a unique texture and flavor to the world of baked goods. Unlike conventional muffins, which are fluffy and airy, mochi muffins have a crisp, caramelized crust and a satisfyingly chewy interior, making them an irresistible treat for any occasion.
The origins of mochi itself date back over a thousand years in Japan, where it is often associated with celebrations, festivals, and good fortune. While traditional mochi is made by pounding glutinous rice into a sticky, elastic dough, the adaptation into mochi muffins is a more recent innovation, largely popularized in the United States by Asian-American bakers looking to combine nostalgic flavors with modern pastry techniques. The result? A wonderfully unique baked good that has taken the culinary world by storm.
Table of Contents
The Key Ingredients and the Magic of Mochiko Flour
The secret to the mochi muffin’s signature chewiness lies in mochiko, or sweet rice flour. Unlike all-purpose flour, mochiko contains a high amount of amylopectin, a starch that gives mochi its characteristic elasticity. When baked, this flour creates a springy, slightly sticky texture that pairs beautifully with a golden, crispy crust.
Essential Ingredients for Mochi Muffins:
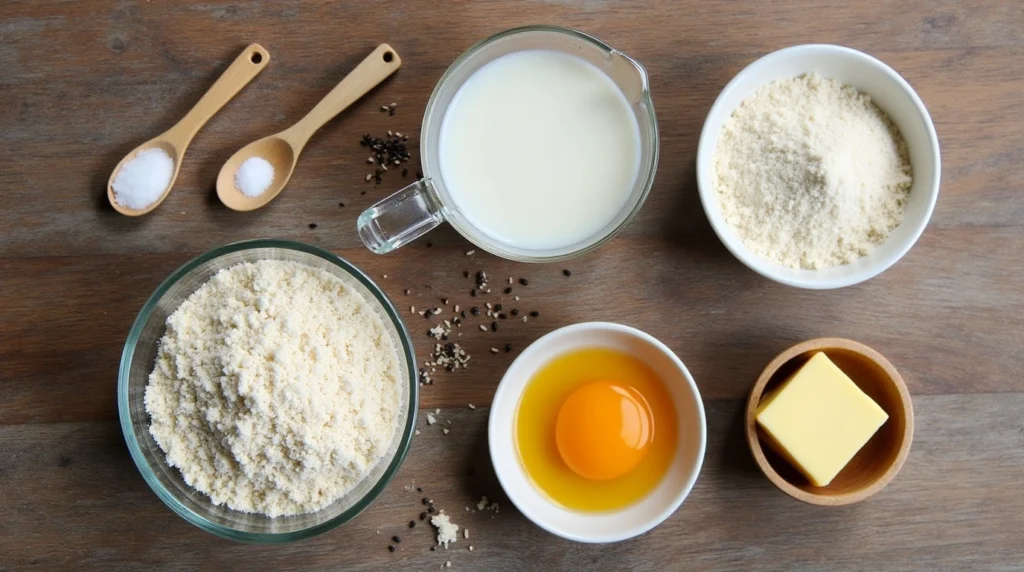
- 1 cup mochiko (sweet rice flour) – The key to the chewy texture.
- 1/2 cup granulated sugar – Adds sweetness and helps with caramelization.
- 1/2 teaspoon baking powder – Provides slight lift and structure.
- 1/4 teaspoon salt – Enhances overall flavor.
- 1/2 cup coconut milk (or whole milk) – Contributes richness and moisture.
- 2 tablespoons unsalted butter, melted – Adds flavor and helps with the crisp exterior.
- 1 large egg – Helps bind the ingredients together.
- 1 teaspoon vanilla extract – Adds depth of flavor.
- 1 tablespoon black sesame seeds (optional) – For added crunch and a nutty aroma.
Step-by-Step Instructions for Perfect Mochi Muffins
Making mochi muffins is a straightforward process, but paying attention to technique ensures the best results.
- Preheat and Prepare:
- Preheat your oven to 375°F (190°C).
- Grease a muffin tin thoroughly to prevent sticking and promote a crisp exterior.
- Mix the Dry Ingredients:
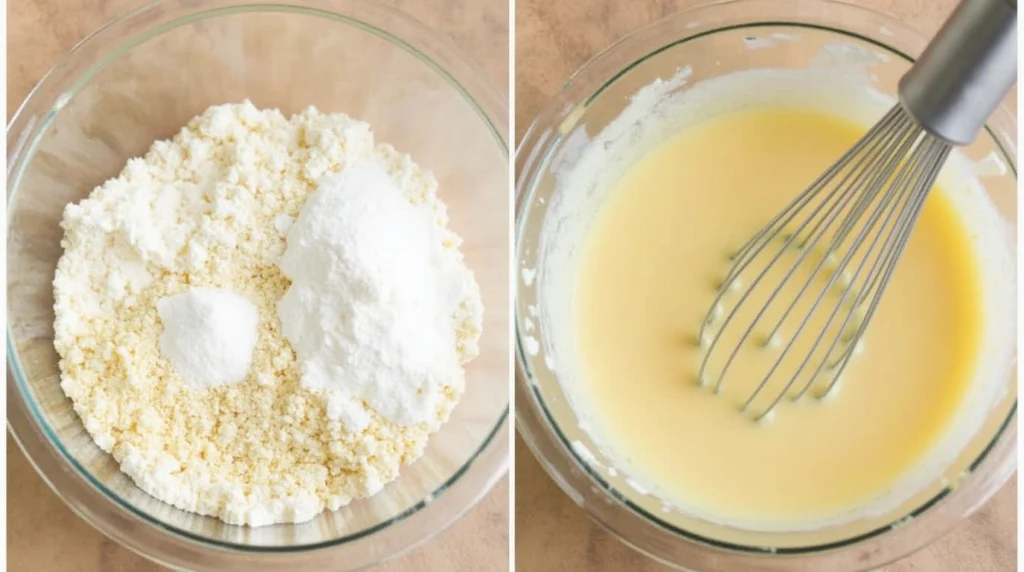
- In a large mixing bowl, whisk together the mochiko, sugar, baking powder, and salt until well combined.
- Combine the Wet Ingredients:
- In a separate bowl, whisk the egg, coconut milk (or whole milk), melted butter, and vanilla extract until smooth.
- Blend the Batter:
- Gradually pour the wet ingredients into the dry ingredients, stirring gently until just combined. Avoid overmixing to maintain the right consistency.
- Fill the Muffin Tin:
- Divide the batter evenly into the prepared muffin tin, filling each cup about 3/4 full.
- Sprinkle black sesame seeds on top if using.
- Bake to Perfection:
- Bake in the preheated oven for 25-30 minutes or until the tops are golden brown and a toothpick inserted into the center comes out clean.

- Cool and Enjoy:
- Allow the muffins to cool in the pan for about 5 minutes before transferring them to a wire rack to cool completely.
- Enjoy warm or at room temperature!
Exploring Flavor Variations and Serving Ideas
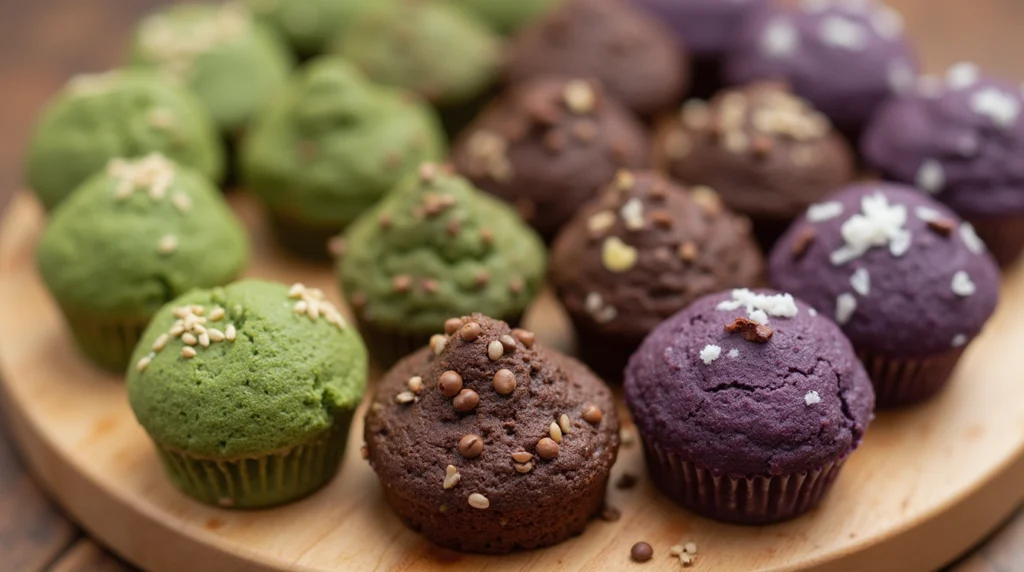
One of the joys of mochi-muffins is their versatility. While the classic version is often made with a hint of vanilla and a sprinkle of sesame seeds, there are countless ways to customize them:
- Matcha Mochi Muffins – A vibrant green tea twist that adds a pleasant earthy bitterness.
- Chocolate Mochi Muffins – Cocoa powder and chocolate chips make these a rich, indulgent treat.
- Ube Mochi Muffins – Featuring the nutty, vanilla-like flavor of ube, a popular Filipino purple yam.
- Coffee or Espresso Mochi Muffins – A great morning pick-me-up with deep coffee undertones.
- Black Sesame Mochi Muffins – A nutty and aromatic alternative with a striking appearance.
These muffins are delightful on their own, but they also pair beautifully with a cup of tea, coffee, or even a drizzle of honey or condensed milk for added indulgence. They make an excellent breakfast treat, a midday snack, or even a unique dessert offering at gatherings.
Personal Reflections: A Treat That Stands the Test of Time
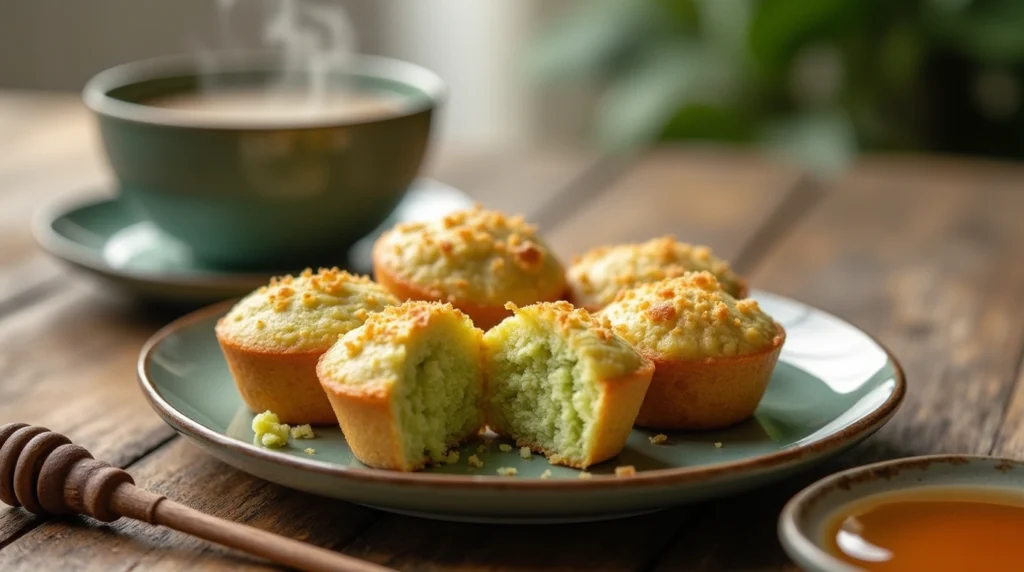
The first time I tried a moch-muffin, I was captivated by its intriguing texture—crisp on the outside, chewy on the inside, and rich with buttery, slightly nutty flavors. It was unlike anything I had tasted before. As someone passionate about Japanese flavors and contemporary baking, mochi muffins quickly became a staple in my kitchen. They offer the nostalgia of traditional mochi while seamlessly fitting into the modern baking repertoire.
Now, whenever I bake a batch, I find myself experimenting with new flavor combinations, always excited to see how a small ingredient swap can create a completely new experience. The beauty of mochi muffins is that they never feel repetitive; there’s always a new twist to explore.
Frequently Asked Questions (FAQs)
Can I make mochi muffins gluten-free?
- Yes! Mochiko flour is naturally gluten-free, making mochi muffins a great option for those with gluten sensitivities.
How do I store mochi muffins?
- Store them in an airtight container at room temperature for up to two days. For longer storage, refrigerate for up to a week or freeze for up to a month.
Why are my mochi muffins too dense?
- Overmixing the batter can lead to excessive density. Stir gently and just until the ingredients are combined.
Can I substitute mochiko with regular flour?
- No, mochiko is essential for the chewy texture. Regular flour will not produce the same result.
Can I use dairy-free alternatives?
- Yes! Substitute coconut milk or almond milk for a dairy-free version, and use plant-based butter.
Conclusion: Embracing the Mochi Muffin Magic
Mochi muffins are more than just a delicious treat—they’re a testament to the beauty of culinary fusion, blending Japanese tradition with modern baking artistry. Whether you stick to the classic flavors or get adventurous with unique variations, these muffins are sure to delight anyone who takes a bite.
If you’ve never made mochi-muffins before, now is the perfect time to try! With their crispy edges, chewy centers, and endless flavor possibilities, they’re bound to become a favorite in your home. So preheat your oven, grab some mochiko flour, and get ready to enjoy the magic of mochi muffins.

Mochi Muffins
Equipment
- 1 Muffin Tin Greased
- 1 Mixing bowl Large
- 1 Whisk For mixing wet ingredients
- 1 Measuring Cups & Spoons For accurate ingredient portions
- 1 Spatula For folding batter
Ingredients
- 1 cup mochiko (sweet rice flour) The key to the chewy texture
- 1/2 cup granulated sugar Adds sweetness and helps with caramelization
- 1/2 tsp baking powder Provides slight lift and structure
- 1/4 tsp salt Enhances overall flavor
- 1/2 cup coconut milk (or whole milk) Contributes richness and moisture
- 2 tbsp unsalted butter, melted Adds flavor and helps with the crisp exterior
- 1 large egg Helps bind the ingredients together
- 1 tsp vanilla extract Adds depth of flavor
- 1 tbsp black sesame seeds (optional) For added crunch and nutty aroma
Instructions
- Preheat & Prepare: Preheat the oven to 375°F (190°C) and grease a muffin tin.
- Mix Dry Ingredients: In a large mixing bowl, whisk together mochiko, sugar, baking powder, and salt.
- Combine Wet Ingredients: In another bowl, whisk together egg, coconut milk, melted butter, and vanilla extract.
- Blend Batter: Gradually add the wet mixture into the dry ingredients, stirring gently. Avoid overmixing.
- Fill & Bake: Pour batter into the greased muffin tin, filling each cup ¾ full. Sprinkle sesame seeds on top (if using). Bake for 25-30 minutes or until golden brown.
- Cool & Enjoy: Let muffins cool for 5 minutes before transferring them to a wire rack. Serve warm or at room temperature.
Notes
- For gluten-free mochi muffins, ensure that all ingredients (especially baking powder) are certified gluten-free.
- Store in an airtight container at room temperature for up to 2 days or refrigerate for up to a week.
- Freeze leftovers for up to a month, reheating them in the oven for a fresh-baked texture.
Leave a Reply
There are no reviews yet. Be the first one to write one.

