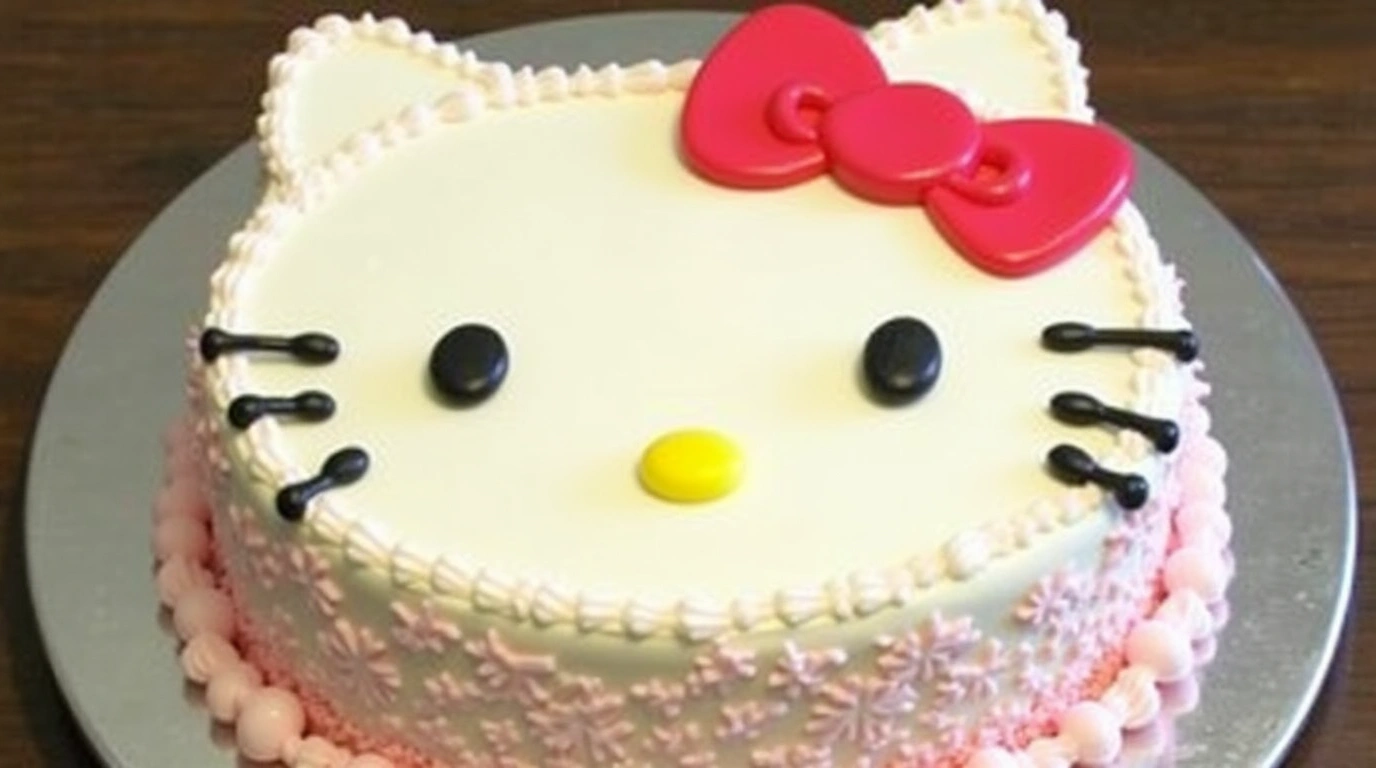
Hello Kitty has captured the hearts of millions around the world with her adorable and timeless charm. Whether you’re a long-time fan or a newcomer to this beloved character, a Hello Kitty-themed cake is the perfect way to bring some playful magic to any celebration. This whimsical cake is ideal for birthdays, baby showers, or any event that could use a touch of sweetness and cuteness. In this post, I’m excited to walk you through the entire process of creating your very own Hello Kitty cake, from the cake layers to the final decorative touches.
Table of Contents
The Inspiration Behind the Hello Kitty Cake Design
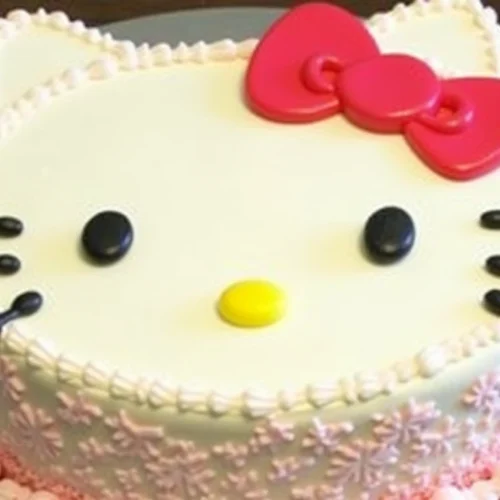
Hello Kitty, the iconic white cat with a red bow, first made her debut in 1974 and has since become a symbol of innocence, friendship, and fun. When designing this Hello Kitty cake, I wanted to capture her playful, adorable essence while making sure the cake was not just cute but also delicious. The design needed to incorporate the signature elements that make Hello Kitty so beloved: her large, expressive eyes, sweet little nose, and, of course, her iconic bow. The result? A cake that’s as fun to make as it is to eat!
Recipe for the Hello Kitty Cake Layers, Fillings, and Decorations
Let’s get baking! The following recipe will guide you through making a cake that’s both delicious and photogenic. Here’s what you’ll need:
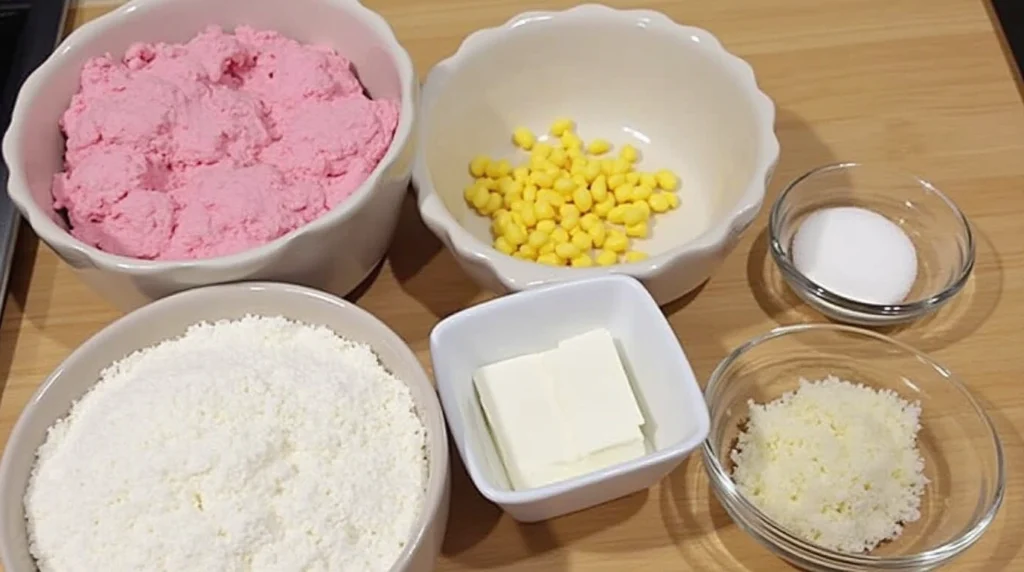
For the Cake Layers:
- 2 ½ cups all-purpose flour
- 2 ½ teaspoons baking powder
- ½ teaspoon salt
- 1 ½ cups unsalted butter, softened
- 1 ½ cups granulated sugar
- 4 large eggs
- 2 teaspoons vanilla extract
- 1 cup milk
For the Buttercream Frosting:
- 1 cup unsalted butter, softened
- 4 cups powdered sugar
- 2 teaspoons vanilla extract
- 2 tablespoons heavy cream
- Pink food coloring (for the bow)
- Black food coloring (for the facial features)
For the Decorations:
- Red fondant (for the bow)
- Black fondant (for the eyes, nose, and whiskers)
- White fondant (for the face)
Step-by-Step Instructions for Assembling and Decorating the Hello Kitty Cake
1. Bake the Cake Layers:
Preheat your oven to 350°F (175°C). Grease and flour two 8-inch round cake pans. In a medium bowl, whisk together the flour, baking powder, and salt. In a separate large bowl, cream the butter and sugar together until light and fluffy. Add the eggs, one at a time, beating well after each addition. Stir in the vanilla extract. Gradually add the flour mixture in batches, alternating with the milk, mixing until smooth. Pour the batter into the prepared cake pans and bake for 25-30 minutes, or until a toothpick inserted into the center comes out clean. Allow the cakes to cool completely before frosting.
2. Prepare the Buttercream Frosting:
While the cake is cooling, prepare your buttercream frosting. In a large bowl, beat the softened butter until creamy. Gradually add powdered sugar, one cup at a time, mixing well after each addition. Add vanilla extract and heavy cream, beating until the frosting is light and fluffy. Divide the frosting into two bowls. Add a few drops of pink food coloring to one bowl for the bow and leave the other white for the face and background.
3. Assemble the Cake:
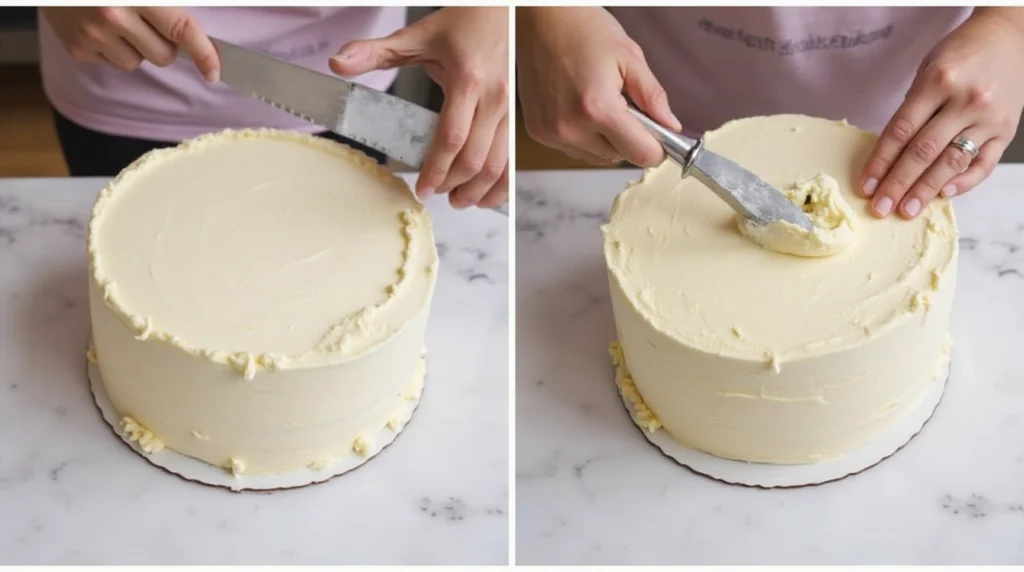
Once your cake layers are cool, level them to ensure they stack evenly. Place one layer on a cake stand or plate and spread a thin layer of buttercream frosting on top. Add the second layer of cake and apply a crumb coat (a thin layer of frosting to seal in the crumbs). Chill the cake in the fridge for about 20 minutes to set the crumb coat.
4. Decorate the Hello Kitty Cake:
Once the crumb coat has set, cover the entire cake with a smooth layer of white buttercream. Use a spatula or bench scraper to smooth the surface. Roll out the red fondant and cut a bow shape to place on the top of the cake. For the facial features, use black fondant to make the eyes, nose, and whiskers. Gently press the fondant onto the cake in the appropriate places to create Hello Kitty’s signature face. Add any additional details like blush marks using pink food coloring if you wish.
Tips and Techniques for Achieving the Perfect Hello Kitty Cake Aesthetic
- Smooth Buttercream: To achieve a smooth buttercream finish, use a bench scraper and keep your frosting as even as possible. The crumb coat is key to this process, so don’t skip it!
- Fondant for Detail: If you’re not comfortable working with fondant, you can always substitute with more buttercream, but for sharp, defined shapes like Hello Kitty’s bow and features, fondant is the best choice.
- Use Piping Gel: To attach fondant details like the bow or facial features, you can use piping gel or a bit of leftover buttercream as adhesive.
Serving Suggestions and Ideas for Customizing the Cake for Different Occasions
This Hello Kitty cake is perfect for any occasion, but you can customize it based on the theme of your party. For example:
- Birthday Parties: Personalize the cake with the birthday person’s name on the cake board.
- Baby Showers: Add some pastel-colored accents to make the cake more baby-friendly, or use a baby-themed Hello Kitty topper.
- Holiday Celebrations: Swap out the bow’s color or add festive decorations to match the season.
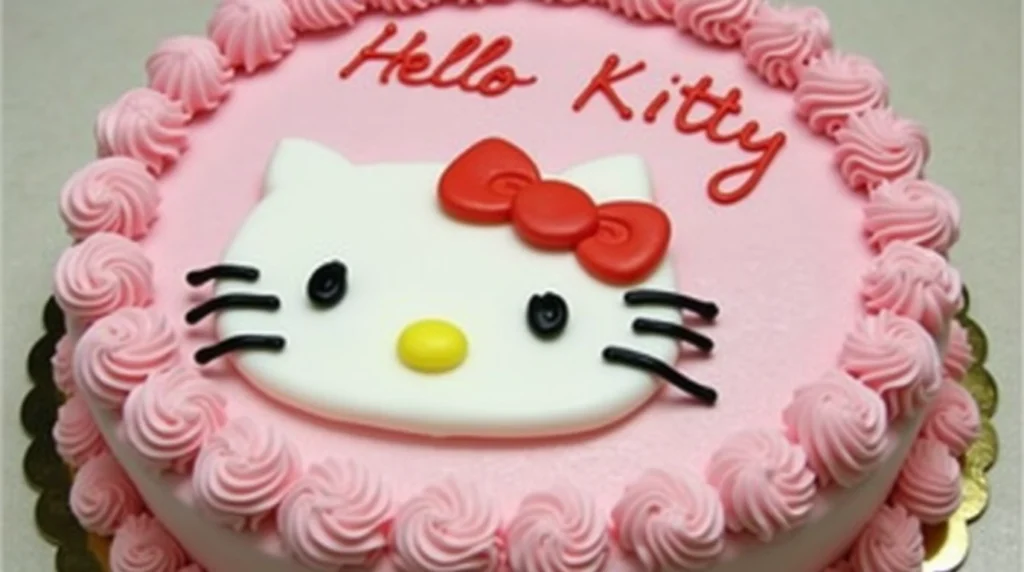
Conclusion: A Whimsical and Fun Hello Kitty Cake
The Hello Kitty-themed cake is the ultimate celebration dessert—a combination of playful design and delicious flavors. Whether you’re baking for a Hello Kitty fan or simply looking for a fun project in the kitchen, this cake is sure to bring joy to any event. It’s a reminder that baking doesn’t just have to be about taste—it’s also about creating something visually captivating and full of charm. Roll up your sleeves, get creative, and most importantly, have fun while making this whimsical Hello Kitty cake. Happy baking!
Hello Kitty Cake
Equipment
- 1 Electric Mixer For preparing the batter and buttercream.
- 2 8-inch Cake Pans For baking the cake layers.
- 1 Spatula For spreading buttercream frosting.
- 1 Bench Scraper For smoothing the frosting.
- 1 Rolling Pin For rolling out fondant.
Ingredients
Cake Layers
- 2 ½ cups All-purpose flour Sifted for better texture.
- 2 ½ tsp Baking powder
- ½ tsp Salt
- 1 ½ cups Unsalted butter Softened at room temperature.
- 1 ½ cups Granulated sugar
- 4 Large eggs
- 2 tsp Vanilla extract
- 1 cup Milk Full-fat for better richness.
Buttercream Frosting
- 1 cup Unsalted butter Softened at room temperature.
- 4 cups Powdered sugar Sifted for a smooth texture.
- 2 tbsp Heavy cream
- 2 tsp Vanilla extract
- As needed drops Pink food coloring For the bow.
- As needed drops Black food coloring For the facial features.
Decorations
- As needed Red fondant For the bow.
- As needed Black fondant For the eyes nose, and whiskers.
- As needed White fondant For the face.
Instructions
Cake Layers
- Preheat oven to 350°F (175°C). Grease and flour two 8-inch round cake pans.
- In a medium bowl, whisk together the flour, baking powder, and salt.
- Cream the butter and sugar in a large bowl until light and fluffy.
- Add eggs one at a time, beating well after each addition. Stir in vanilla extract.
- Gradually add the flour mixture, alternating with milk. Mix until smooth.
- Divide the batter evenly between the cake pans and bake for 25-30 minutes.
- Cool completely before frosting.
Buttercream Frosting
- Beat the softened butter until creamy.
- Gradually add powdered sugar, mixing well after each addition.
- Add vanilla extract and heavy cream. Beat until frosting is light and fluffy.
- Divide into two bowls. Tint one pink for the bow and leave the other white.
Assembly and Decoration
- Level the cooled cake layers to ensure they stack evenly.
- Spread a thin layer of frosting between the layers and apply a crumb coat.
- Chill the cake for 20 minutes. Cover with white buttercream and smooth.
- Roll out the red fondant and cut a bow shape. Add to the top of the cake.
- Use black fondant to create the eyes, nose, and whiskers. Attach them carefully.
Notes
- Make sure to let the cake cool completely before frosting to prevent melting.
- If you’re new to working with fondant, practice shaping the bow and facial features beforehand.
Leave a Reply
There are no reviews yet. Be the first one to write one.

